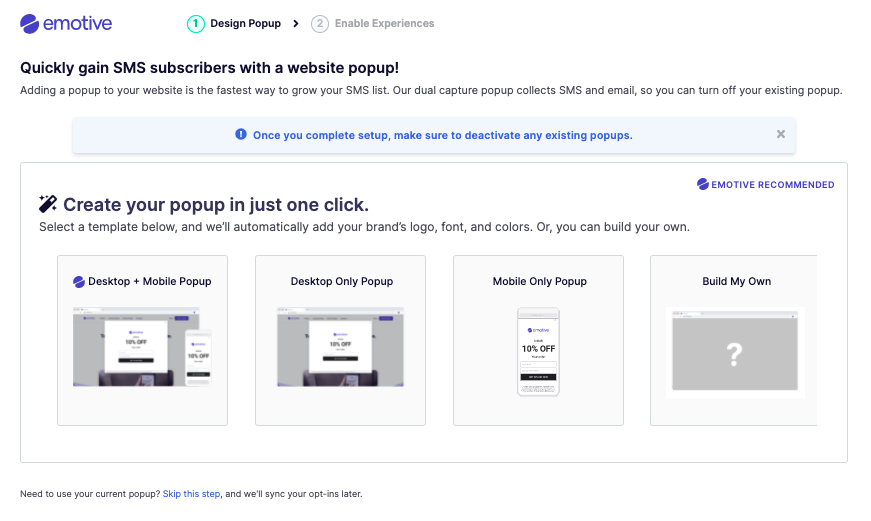
- Collect on both mobile + desktop.
- Offer an incentive.
- Collect both SMS and email.
- Customize the design to match your brand.
- Use a bubble tab.
Create a new popup
To get started:- Sign into Emotive and head to List Growth > Signup Forms.
- Click Create Signup Form.
- Select Create new popup.
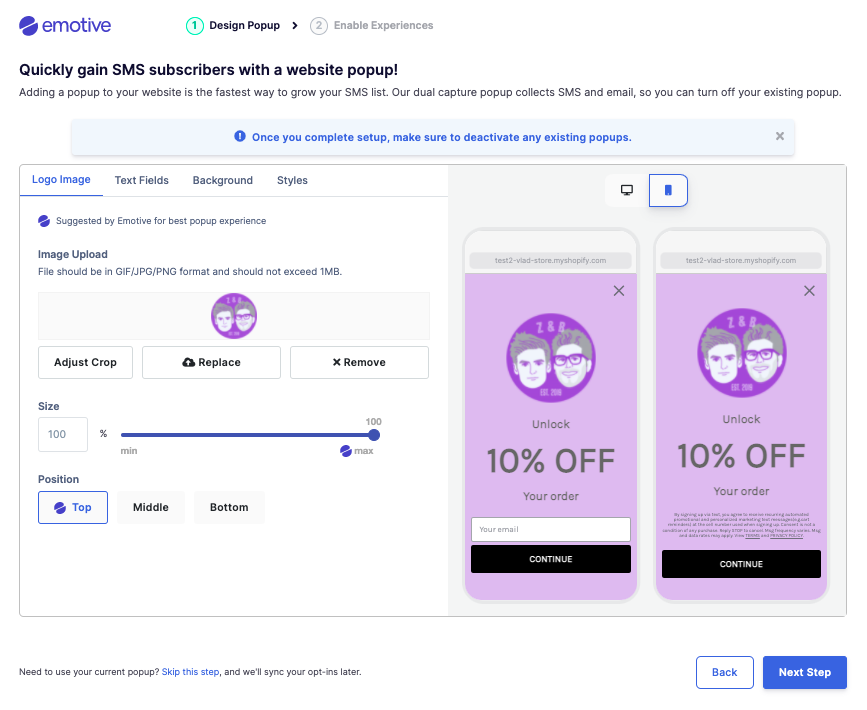
Design your popup
Emotive will pull in your logo and colors from your website to get you in a good starting place.- Select which devices to display your popup on.
- Adjust your logo size and placement as needed, then click Next step.
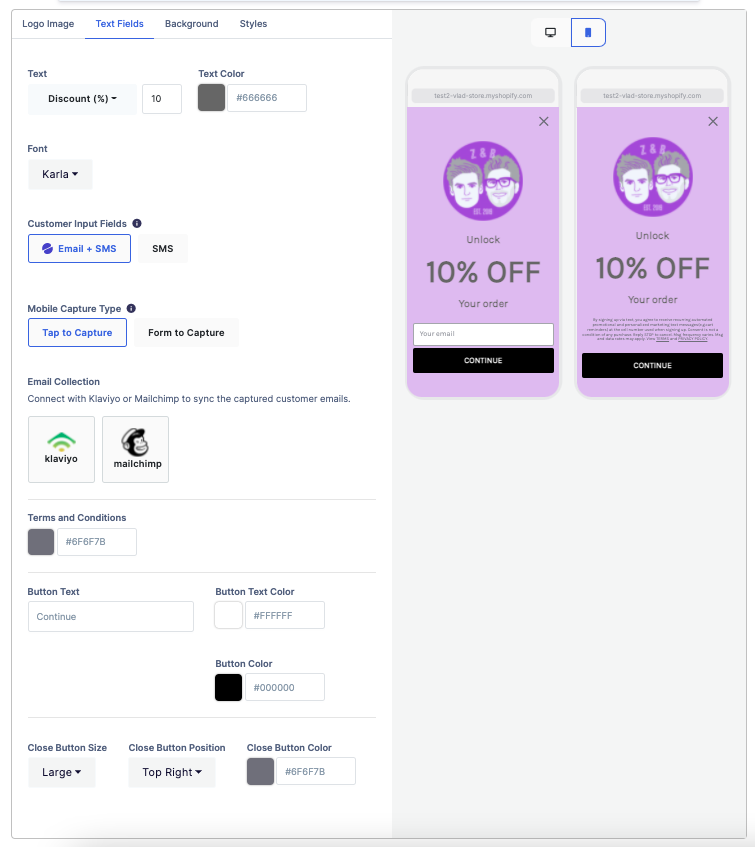
- In the _Text Fields _step:
- Customize your text’s font and color.
- Adjust your Customer Input Fields.
- Choose to connect to your Email Service Provider if needed.
- Customize your button’s appearance.
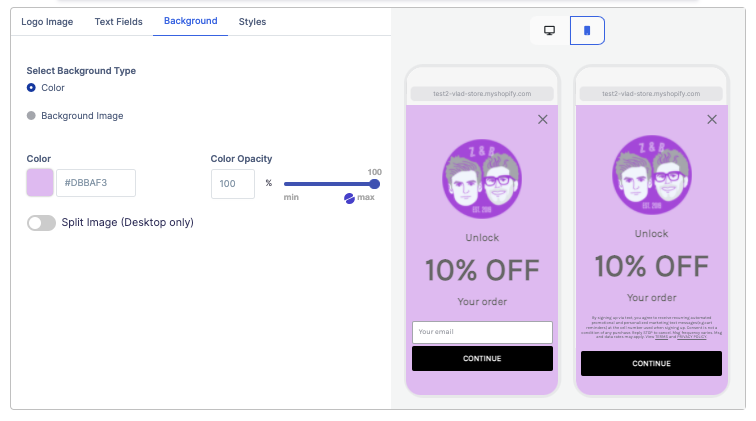
- In the Background step, customize your popup’s background color.
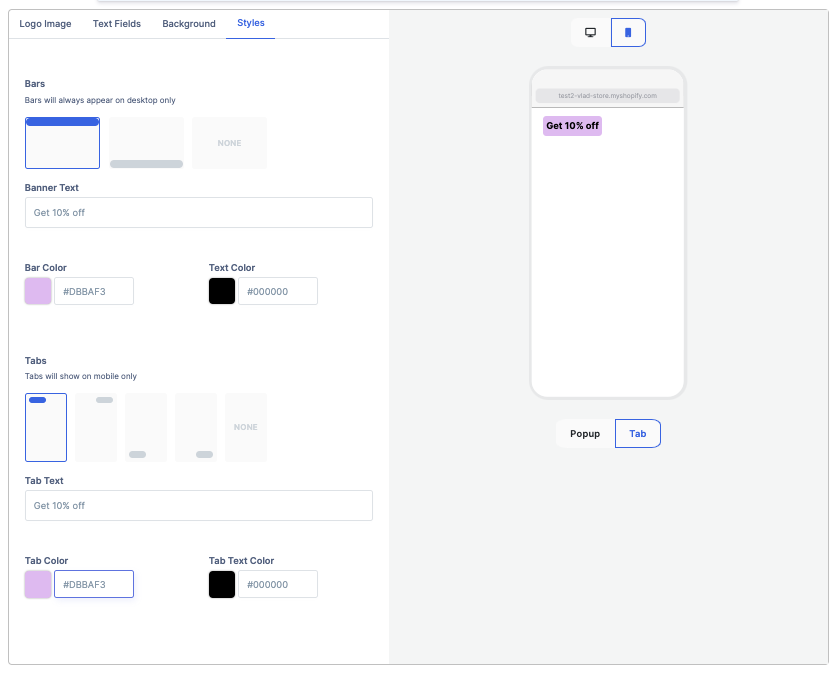
Add a Bubble Tab
If a site visitor initially closes a popup, adding a Bubble Tab will allow them to revisit and sign up at their convenience. To add a Bubble Tab:- Move to the Styles step in your popup builder.
- Click to add a Bar for desktop, and a Tab for mobile.
- Edit the colors and text as needed.
Enable your Flow
Once your new contact signs up, you’ll want to enable a Welcome Flow in the next step, so that you can greet them and deliver your incentive. We also recommend enabling an Abandoned Cart Flow in case your new subscriber leaves items in their shopping cart without completing an order. Once you’ve done this, click Activate to launch your Welcome Popup and Flow.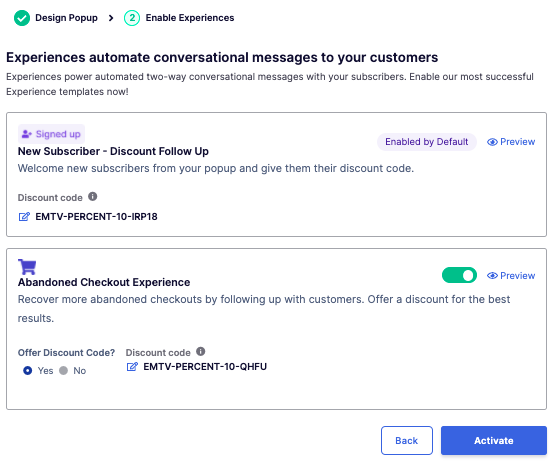
FAQs
What if I already have an active popup on my site?
What if I already have an active popup on my site?
Our dual capture popup allows you to collect both email and SMS subscribers, and is expertly designed to optimize conversion. You can deactivate your existing popup once you activate your Emotive popup.
Can I pass email addresses collected to my ESP?
Can I pass email addresses collected to my ESP?
Yes! Under “text fields” just click on the icon for your ESP (Klaviyo or Mailchimp) and enter your API key. Emails will be sent directly to your ESP.
When will my popup appear on my site?
When will my popup appear on my site?
Your popup will begin appearing on your site once you click “Activate.”
Which pages will my popup appear on?
Which pages will my popup appear on?
You have control over where it appears. The default setting is to appear on all pages except /checkout and /cart, but you can customize the pages once you complete the initial set up.
How do I turn off my existing popup on my site?
How do I turn off my existing popup on my site?
Navigate to your popup existing provider in a new tab. Open the active popup that you would like to replace and turn it off in the setting in the popup. Make sure to check your site to ensure that you’re old popup doesn’t show.
Do I need to add in my terms and conditions links?
Do I need to add in my terms and conditions links?
No! We’ve done the extra for you and automatically pull in both TC and PP links into your Popup disclaimer! However, make sure the links are active by clicking on the URL in the popup.